

I’m on a tight budget, are there any ready made blinds that I can customize to fit my window?
If you are on a tight budget then it can restrict your options when it comes to buying blinds for your window. However if you are just on a budget and not a tight budget then you might be surprised to hear that made to measure blinds are not as expensive as you might think. To compare prices of the different types of guides check out our guide to made to measure blind costs. This gives a breakdown of the different costs associated with each blind, using examples of standard window sizes (rather than lowest price available).
After reading this, if you still think ready made blinds will be more affordable then it might be worth opting for a standard blind, and then making adjustments to make it fit within your window frame. This isn't for everyone as it involves a certain level of skill, and if mistakes are made then the damage can be irreparable. Different blind types have different techniques for making adjustments, so lets go over each blind in turn:
- Adjusting roller blinds
- Reducing the width of vertical blinds
- Reducing the height of vertical blinds
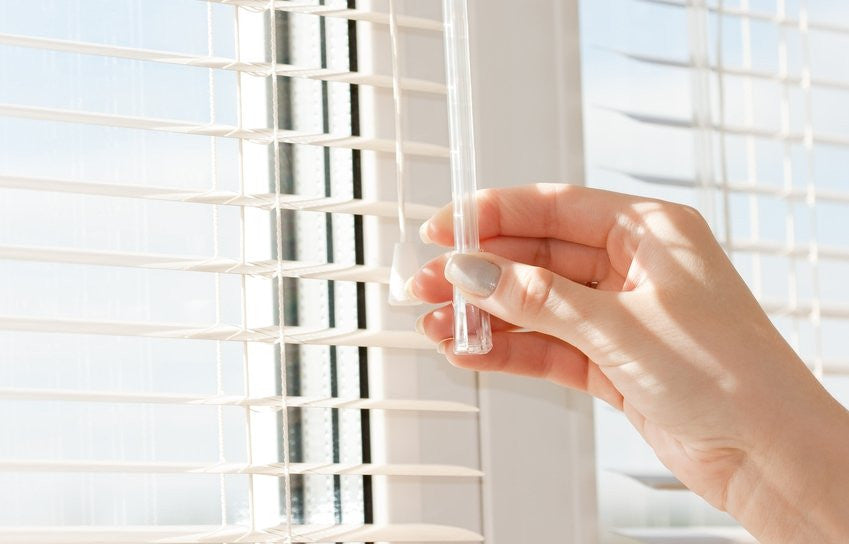
- Adjusting venetian blinds
- Considerations for wooden blinds
- Adjusting roman blinds
Roller blinds
If you have a ready roller blind you can adjust it to be shorter and narrower than the size when you bought it. When making your purchase just ensure that the blind is larger than your window frame, as blinds can be made smaller, but not larger.
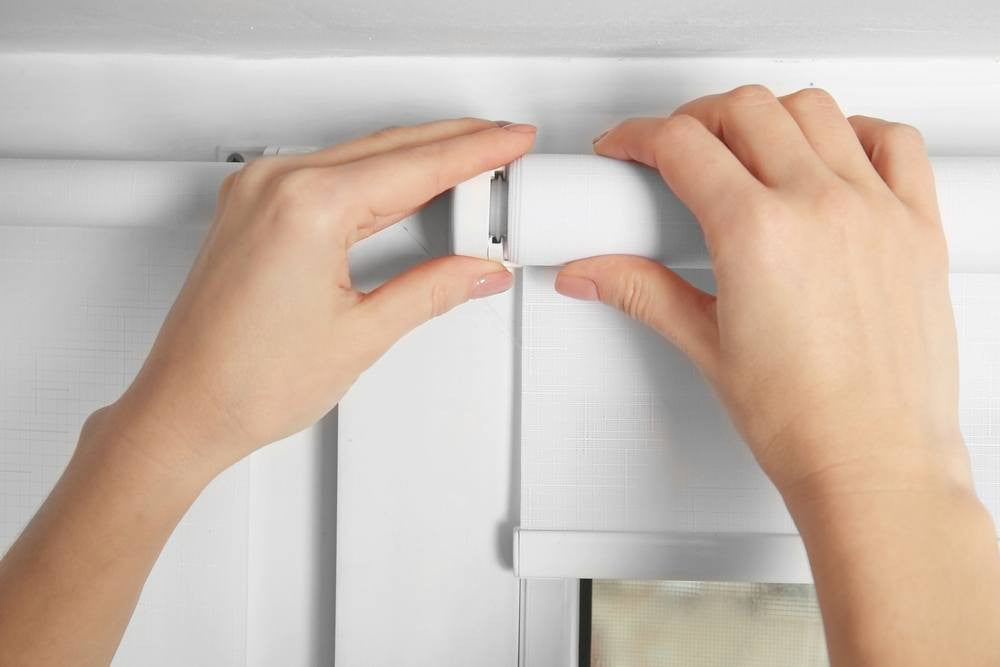
In most cases you will not need to adjust the height of the roller blind, as any excess fabric can just be rolled to the top of the blind. If for whatever reason you do need to make your blind shorter, then before you get the scissors out you should know that you never cut the blind from the bottom. Instead you completely unroll the blind and then cut from the top. You should cut the fabric so that it is tall enough to completely cover your window, with additional space to roll around the blind tube 4-5 times.
Once cut you should unclip the remaining fabric still attached to the blind and disregard this - this is waste. Then you will need to add the bottom of the fabric to the blind tube. When attached make sure that the fabric is level with the left and right side of your window frame, as otherwise the blind will open and close unevenly. It should slot within the tube and then once 2-3 revolutions of the blind tube are completed the fabric will be held in place.
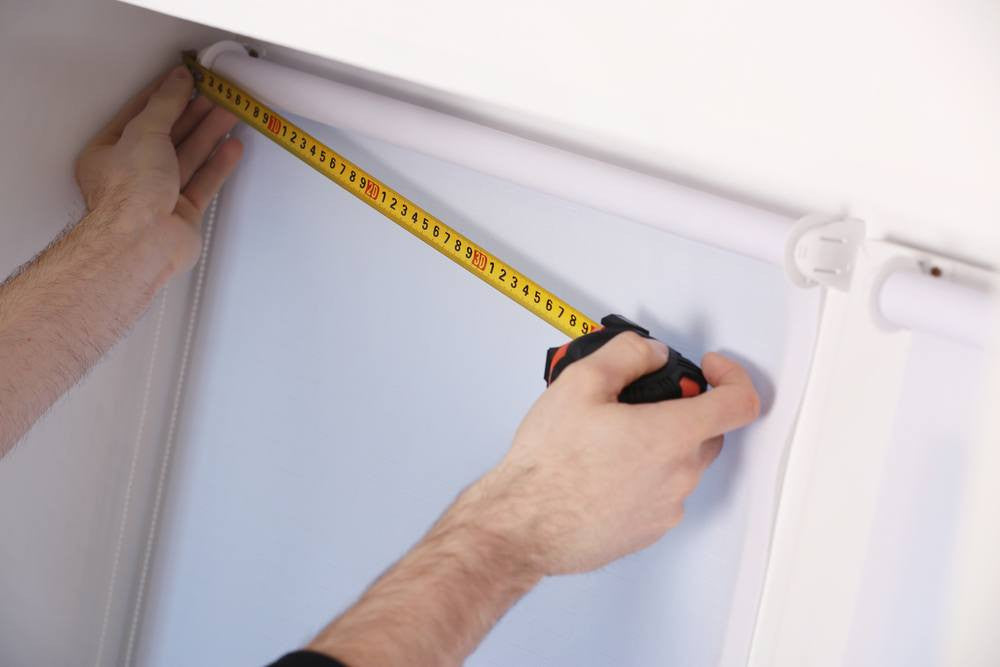
When it comes to adjusting the width of your blind then it is best to remove the blind from the mounting brackets, and the window frame. Measure the width of your window, taking level measurements at several heights to ensure the window is square. Then you should take 1cm off this measurement to ensure that the blind will fit properly within the window. You should then measure the headrail and calculate how narrower it needs to be.
This is the simple way to work out how much you need to take off your fabric, rolling tube and bottom rail. The Sum: Head rail width minus window width minus 1 cm minus space required for mounting brackets. Once you know this measurement you will know how much to trim your blind by. So you then need to unravel the roller blind so that you can access and trim all of the fabric at once. You should never trim the fabric whilst it is still fully rolled up, as the cut will be completely jagged. So, when it is unravelled measure the fabric and mark on a straight cutting line with pencil or chalk. Then with a sharp pair of scissors you can cut through the fabric.
The last thing you will need to do is cut through the weight bar within the bottom rail, and the inner cardboard, aluminium or plastic tube. This can be done using a hacksaw. For a more information see How do I cut a ready made roller blind to size?
Vertical blinds
When it comes to adjusting vertical blinds this is relatively simple process, compared to the technique for roller blinds. In basic terms the width can be adjusted by shortening the headrail, and removing slats. Whilst the height can be adjusted by shortening slats from the top. Here is a more detailed guide to this process:
Reducing the width of vertical blinds
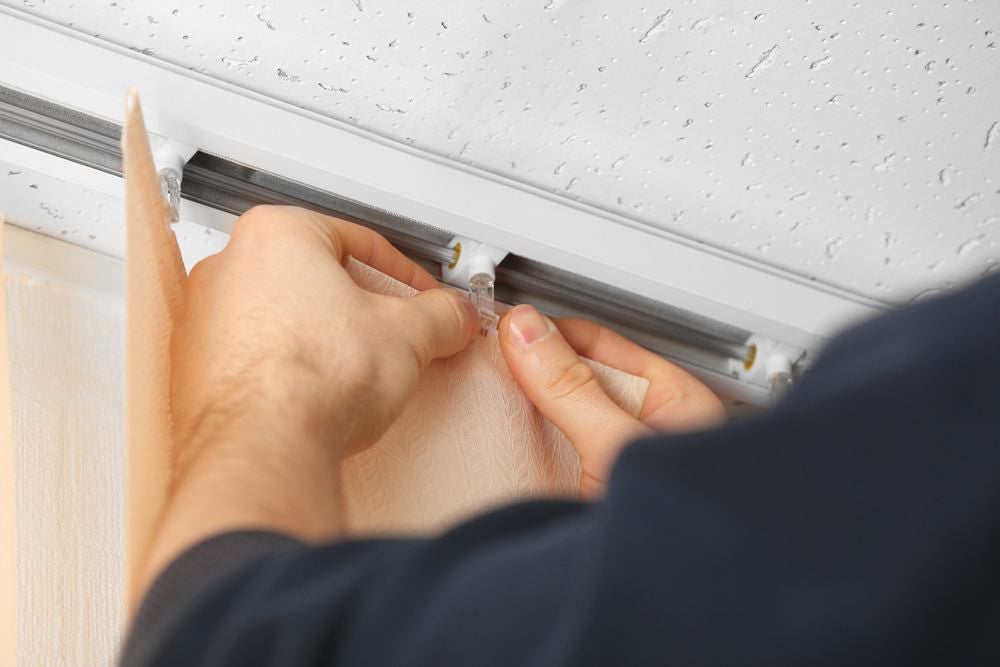
To do this you will need to un-clip the plastic end of the headrail. Do this on the side without any cords or operating mechanisms. Push all blind holders to the opposite side of the headrail, so they are not in your way. You can then measure how long you need the headrail to be, and mark on the headrail the amount you need to remove. Once you are happy with this measurement you can trim the headrail using a hacksaw. Within the headrail there should also be a thin metal pole, that goes through all of the plastic holder. This will need to be trimmed using a hacksaw as well.

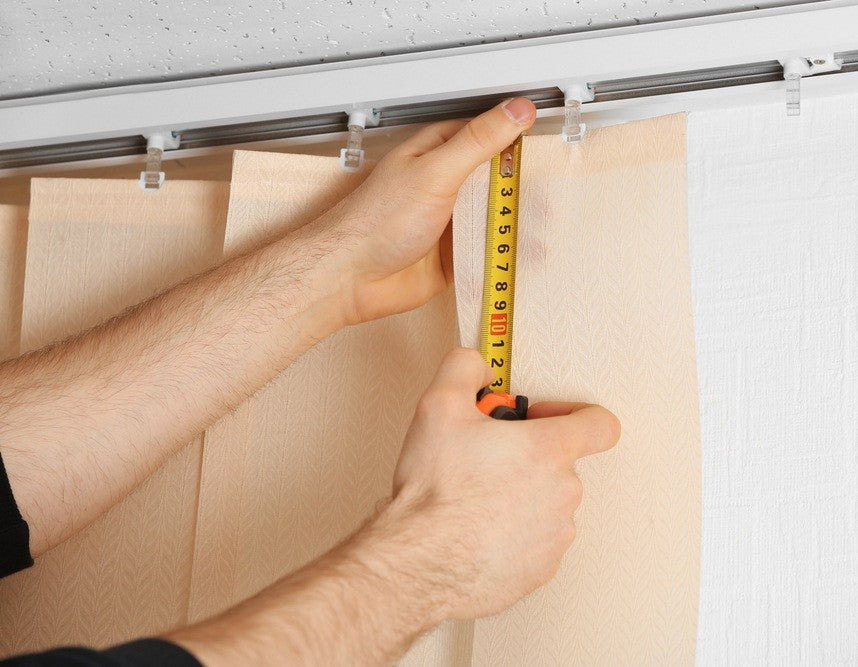
You can then remove the internal plastic holders that hold the blind slats. If you slide the plastic holders along the metal rotating pole, so that they are extended the length of the headrail, then you should notice a number of redundant holders which are no longer required (now that the headrail has been trimmed). Any redundant holders can be slid off the thin pole and out of the headrail.
You will then want to fit the finishing clip back onto the end of the headrail, to secure all plastic holders in place. This is the same plastic end which you removed before making adjustments. This should clip back onto place, however if the headrail has a jagged edge due to sawing then you may need to file this down in order to fit the end clip.
As for the bottom cord you will just need to ensure that when all slats are connected and in place, that you trim off any excess cord. The cord has plastic beads along its length, so a neat cut can be made next to one of these. The blind should then sit in your window frame neatly, and look as if it were specifically designed for your window.
Reducing the height of vertical blinds
Reducing the height of a vertical blind is even simpler, than adjusting the width. This is because other than scissors you don't require any additional tools and amendments can be made whilst the blind is still hanging within the window frame. Adjusting the height just involves trimming blind slats from the top of the material. You should never trim material from the bottom.
The blind slat is clipped in place at the top using a plastic holder (attached to the headrail) and a plastic hook (attached to the slat). If you unhook the blind slat then the plastic hook which is attached to the slat can be removed from the material. This hook is made up of two parts - the top which sits above the fabric, and a small plastic strip which sits underneath the fabric.
The fabric tightly folds over this small plastic strip and then gets slotted into the top piece of plastic. So to disconnect these two pieces of plastic from the fabric you just need to slide the top piece in one direction, whilst sliding the fabric (and bottom plastic strip) in the opposite direction. You will now have two pieces of plastic and a loose blind slat.
To make adjustments to the height of the slats, all you need to do is fold the slat in a lower position, and reverse the process mentioned above to reattached the plastic hook, and to re-hook the slat onto the headrail. The beauty of this, is that you can make slight adjustments and if you are still not happy keep making adjustments until the slat is the desired length. Once you are happy with the new length of the slat, you can repeat the process on all blind slats within the vertical blind.
To ensure blind slats are all set at the same height it is best to measure the position of the fold in the first slat you adjusted, and then copy the location of this fold for subsequent blind slats. Just make sure the fold is level, and not lopsided. Repeat this for all blind slats and then when complete step back from the blind to get a better view. By stepping back you should be able to see whether the slats are all positioned correctly, or whether additional folds need to be made.
By re-positioning the fold of the fabric you will now be left with excess fabric next to the fold. You should trim this using a sharp pair of scissors, so that a maximum of 1cm of fabric is still visible. When you have done this for all slats then all you need to do is discard any excess fabric.
Venetian blinds
Adjusting venetian blinds can be an extremely difficult process. This is because if you are looking to reduce its width then unlike with other blind types you will have to make adjustments to both the left and right side of the blind. As the blind is symmetrical with cords at equidistant intervals from the centre of the blind, you need to trim the width of the blind an equal amount on either side.
If you just trim one side then the blind will look lopsided with cords no longer centred. So compared to other blind types there is twice as much work involved, plus you will have to trim multiple blind slats individually. If you're not prepared to do this, then made to measure blinds may be more of an attractive option. If you do decide to trim a ready made blind then you will need to choose a blind that is slightly larger than the window where you want it to hang.
However, ensure that the blind isn't too large, as there is a limit to the amount you can trim a venetian blind. This limit is dependant on the position of the pull, ladder and lifting cords.
The headrail and bottom rail can be trimmed using a hacksaw. All you will need to do is measure the width of the window and trim the rails an equal amount on either side of the blind. Before doing so just ensure that the internal mechanisms are in a safe position, as they may need to be adjusted or moved closer to the centre, so that they continue to work after the adjustments have been made. If the mechanism is fixed or restricts how you are able to adjust the blind then you may be unable to reduce the width of the blind. Just bare this in mind before making any adjustments.
When it comes to cutting individual slats you would benefit from a specifically designed venetian blind slat cutter. These devices clip onto a blind slat and cut through them neatly at the desired length. These cutters give you a nice finish to each slat, whereas using a hacksaw can lead to splitting or rough edges. These devices are relatively inexpensive and can be bought from a local DIY store for about £5. However, unless otherwise stated these will only work with PVC or aluminium slats.
So for wooden slats you will still need a saw. When it comes to adjusting the drop this is a less time consuming job than reducing the width. Although it can be a little fiddly and will take some time to get it just right. To make changes all you need to do is remove slats from the bottom of the blind. Firstly, remove the bottom rail by removing the cord plugs from holes within the rail. These plugs house the blind cord and should pull out of the rail, allowing you to cut through the blind cord. There are usually two or three cords and plugs, cut through all of these cords and the bottom rail will become loose.

You will then be able to un-thread the blind cord from each slat, removing the cord from any slats that need to be removed. Once un-threaded the slats can then be slid out of the ladder cord. This is the cord that supports the weight of the slat (as well as controlling their opening position), and from the side this cords looks like a ladder - hence the name. Once you are happy with the number of slats you have removed you can add the bottom rail back by re-threading the cord through the holes and securing with a knot and the cord plug.
At this point you can trim away any excess cord from under the bottom rail, and from the ladder cord. Cut this as neatly as possible to finish off your blind. If you take your time with the steps mentioned above then you should have no problem making adjustments. However, a venetian blind is the most difficult blind to adjust - so make sure you have the time and patience to resize the blind as required. This is even more important because as soon as you make changes then you will be unable to receive a refund, and may have to opt for a made to measure blind anyway.
Wooden blinds
To cut and adjust wooden blinds you basically need to follow the same instructions as detailed above for venetian blinds. The only real difference is that you will have to take into account that the slats are made of wood, not PVC or aluminium. This means you may have to use a different technique to shorten blind slats, such as using a wood saw rather than a hack saw. Also the slat cutting device mentioned above is unlikely to work with wooden slats, so check instructions before trying to use this device.

Roman blinds
Generally speaking roman blinds aren't sold as a ready made product. They are either sold as a made to measure blind, or as a roman blind kit. However, if you have purchased a kit or have a roman blind you want to adjust then you will need to make changes. Roman blinds differ from other blinds in that as well as header and footer rails, you will also have to trim support beams (usually 6) that are on the back of the blind. These can be trimmed using a hacksaw. To trim these you just need to loosen blind cords and remove them from the fabric and slots.

To adjust the fabric you will need to un-stitch hems and seams from one side of the blind, and from there cut to the new desired length and restitch. Ensure you have measured at the top, middle and bottom to make sure that the fabric remains square, otherwise it may be uneven along one side. You can mark this line with masking tape or with chalk for added accuracy. Once you are happy with the amount to remove, you can cut the fabric and the lining (if the blind is lined) and restitch the hem to the desired length. At this point you will need to secure the trimmed headrails and trimmed beams back onto the fabric. You can then knot the strings and rehang the roman blind back into your window.


